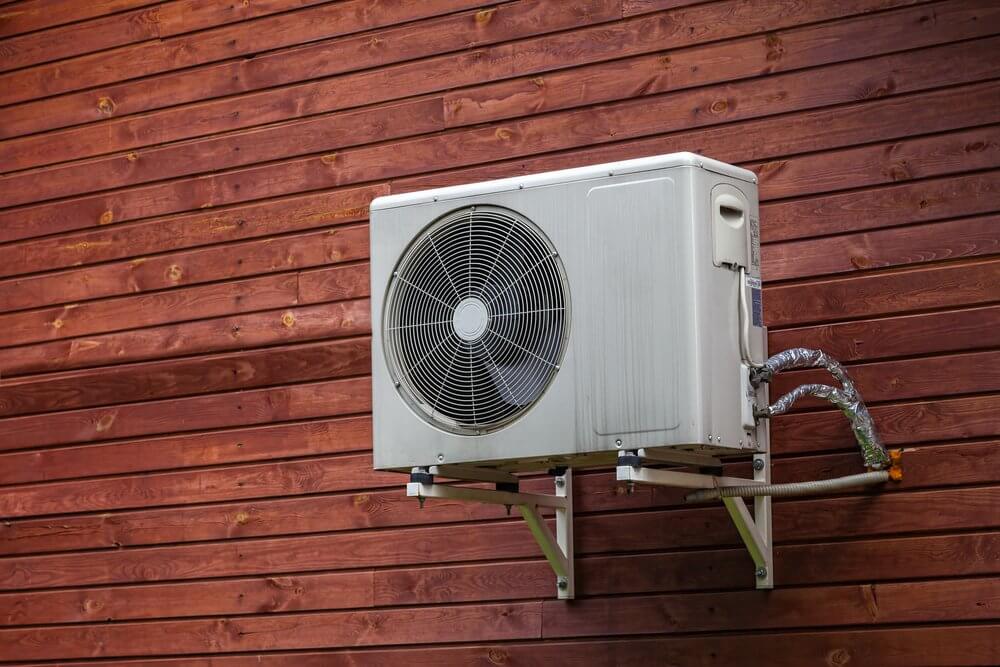
10 Common Air Conditioner Issues in Winter and How to Fix Them
Air conditioners play a crucial role in daily life, especially during winter when temperatures drop and the need for heating increases. However, several issues may arise that can cause your air conditioner to malfunction. Here are 10 common problems and ways to address them.
1. Not Working or Not Turning On
When the air conditioner is not working or fails to turn on, several specific problems may disrupt its operation.
Expected Causes:
- Power Supply:
- Issue: Insufficient or no power supply.
- Check and Resolve:
- Ensure the availability and adequacy of power.
- Inspect the power outlet for a secure connection.
- Control Circuits:
- Issue: Control circuits may be faulty or not functioning correctly.
- Check and Resolve:
- Examine the condition of control panels and remote control devices.
- Refer to the repair manual to identify specific issues.
- Protective Devices:
- Issue: Protective devices may activate in the event of a system malfunction.
- Check and Resolve:
- Inspect protectors and safety devices to ensure they are not triggered.
Troubleshooting Guide:
- Check Power Supply:
- Identify whether there is an issue with the power supply by testing other devices on the same electrical circuit.
- Inspect the status of the control panel or display screen on the device.
- Inspect Control Circuits:
- For air conditioners with remote controls, check the batteries or power source of the remote.
- Inspect connections and wiring to ensure they are not damaged.
- Examine Protective Devices:
- Check protective devices and ensure they are not active.
- If protectors are activated, examine the system’s condition to identify the root issue.
Advanced Suggestions:
- If the problem persists after basic troubleshooting, contact a professional technician for a more in-depth examination and specialized repairs.
By conducting a detailed analysis as outlined above, you can undertake some basic steps to identify and address issues when the air conditioner is not working or fails to turn on.
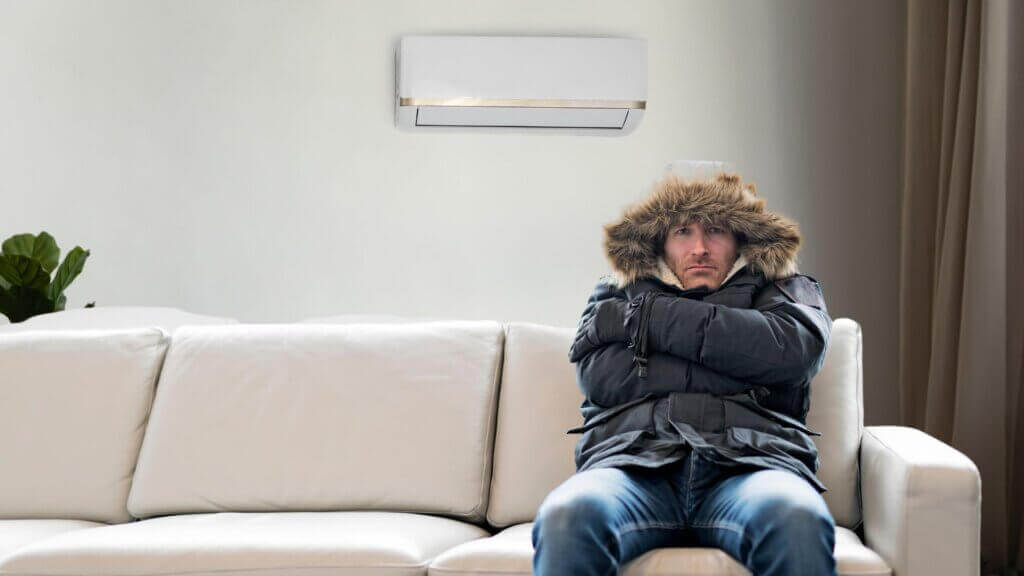
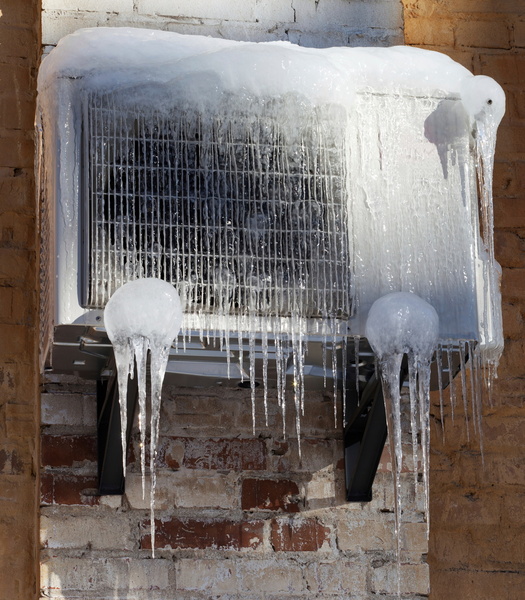
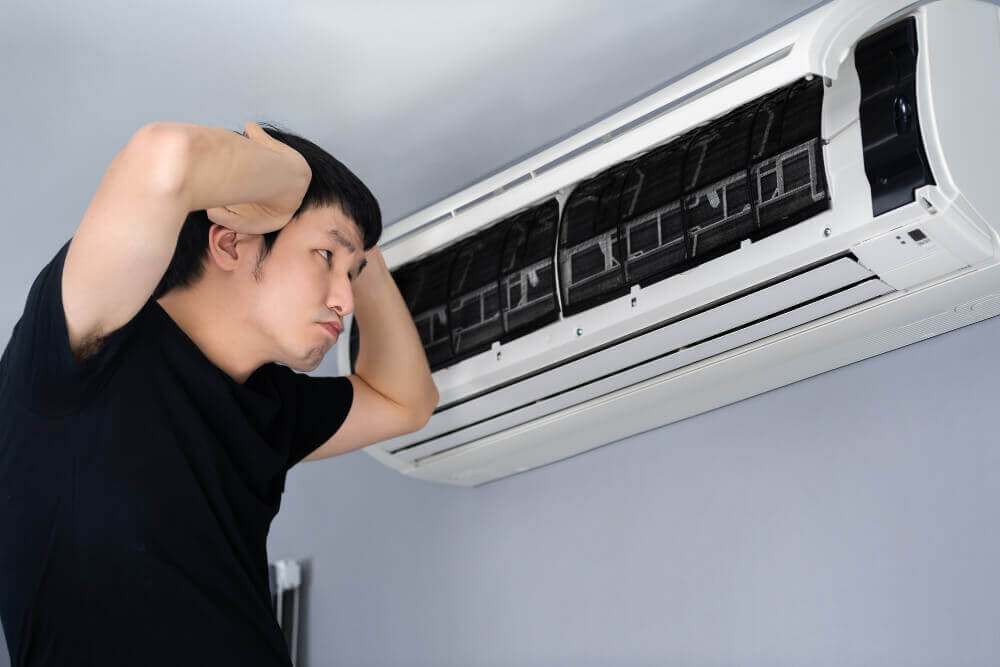
2. Cold Airflow or Unpleasant Odor
When an air conditioner produces cold airflow or emits an unpleasant odor, it can create discomfort and signify underlying problems.
Expected Causes:
- Air Filter Contamination:
- Issue: Contaminated air filters may lead to reduced airflow and unpleasant odors.
- Check and Resolve:
- Regularly inspect and replace air filters according to the manufacturer’s recommendations.
- Dirt or Mold Buildup:
- Issue: Accumulation of dirt or mold inside the unit can result in unpleasant odors.
- Check and Resolve:
- Conduct a thorough cleaning of internal components, including coils and drainage systems.
- Refrigerant Issues:
- Issue: Low refrigerant levels or refrigerant leaks can impact the cooling efficiency.
- Check and Resolve:
- Consult a professional technician to assess refrigerant levels and address any leaks.
Troubleshooting Guide:
- Inspect Air Filters:
- Regularly check and replace air filters to ensure optimal airflow and prevent the circulation of unpleasant odors.
- Follow the manufacturer’s guidelines for the type and frequency of filter replacements.
- Clean Internal Components:
- Conduct regular maintenance by cleaning internal components, such as coils and drainage systems, to prevent the buildup of contaminants that contribute to odors.
- Use appropriate cleaning solutions and follow safety guidelines.
- Refrigerant Assessment:
- If the airflow remains cold but insufficient, or if there are signs of refrigerant issues, seek professional assistance.
- A certified technician can assess refrigerant levels, identify leaks, and perform necessary repairs.
Advanced Suggestions:
- Consider investing in air purifiers or filters with enhanced odor-capturing capabilities to improve indoor air quality.
- Schedule routine professional maintenance to address potential issues before they escalate.
Preventive Measures:
- Regular Maintenance:
- Implement a routine maintenance schedule, including cleaning and inspecting internal components.
- Address any identified issues promptly to prevent the development of unpleasant odors.
- Proper Ventilation:
- Ensure proper ventilation in the area where the air conditioner is installed.
- Adequate airflow helps minimize the accumulation of odors.
- Humidity Control:
- Maintain optimal humidity levels to discourage mold growth and reduce the likelihood of musty odors.
- Consider using dehumidifiers in damp environments.
Addressing issues related to cold airflow or unpleasant odors in air conditioners requires a combination of regular maintenance, timely troubleshooting, and professional assistance when needed. By following preventive measures and staying vigilant, individuals can ensure their air conditioning units function efficiently, providing comfort and clean air throughout the year.

3. Lack of Water
The lack of water in an air conditioner can lead to suboptimal cooling performance and potential damage to the system. Understanding the root causes is crucial for effective troubleshooting.
Expected Causes:
- Blocked or Clogged Drainage System:
- Issue: The drainage system may become blocked or clogged, impeding the flow of water.
- Check and Resolve:
- Inspect the drainage pipes for any obstructions and clear them if necessary.
- Clean the drainage pan and ensure it is free from debris.
- Incorrect Tilt or Positioning:
- Issue: The air conditioner unit may not be correctly tilted or positioned, affecting water drainage.
- Check and Resolve:
- Verify that the unit is installed with a slight tilt to facilitate proper drainage.
- Ensure the outdoor unit is placed on a level surface.
- Faulty Condensate Pump:
- Issue: A malfunctioning condensate pump can hinder the removal of water from the system.
- Check and Resolve:
- Test the condensate pump for proper functionality, and replace if necessary.
Troubleshooting Guide:
- Inspect Drainage System:
- Regularly check the drainage pipes for any blockages, such as algae or debris.
- Clean the drainage pan and remove any accumulated water.
- Verify Unit Tilt and Position:
- Ensure that the air conditioner unit is installed with a slight tilt towards the outside to facilitate proper drainage.
- Confirm that the outdoor unit is positioned on a level surface.
- Test Condensate Pump:
- If the air conditioner has a condensate pump, test its operation by pouring water into the condensate pan.
- Monitor the pump’s functionality and replace it if it fails to operate efficiently.
Advanced Suggestions:
- Consider installing a secondary condensate drain line as a backup to prevent water buildup.
- Schedule professional maintenance at regular intervals to assess and address potential drainage issues.
Preventive Measures:
- Regular Cleaning:
- Perform routine cleaning of the drainage system, including pipes and pans, to prevent blockages.
- Use mild cleaning solutions to discourage the growth of algae and mold.
- Professional Inspections:
- Schedule annual or bi-annual professional inspections to ensure the drainage system is functioning correctly.
- Professional technicians can identify and address potential issues before they lead to a lack of water.
- Correct Installation:
- Ensure that the air conditioner unit is installed by certified technicians following the manufacturer’s guidelines.
- Proper installation minimizes the risk of drainage problems.
Addressing a lack of water in an air conditioner involves proactive maintenance, regular inspections, and prompt resolution of identified issues. By adopting preventive measures and conducting thorough troubleshooting, individuals can maintain optimal performance and extend the lifespan of their air conditioning systems. In cases where DIY efforts prove insufficient, seeking professional assistance is recommended to ensure comprehensive and effective solutions.
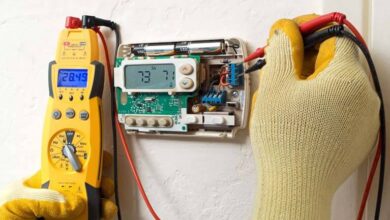
4. Error Indicator Light On
When the error indicator light on an air conditioner is illuminated, it serves as a warning of a potential issue within the system. Understanding the nature of the problem is crucial for effective troubleshooting.
Expected Causes:
- Electrical or Wiring Problems:
- Issue: Faulty electrical connections or wiring issues can trigger the error indicator light.
- Check and Resolve:
- Inspect the electrical connections for loose or damaged wires.
- Test the continuity of wires and replace any that show signs of damage.
- Sensor Malfunction:
- Issue: Sensors responsible for monitoring temperature and other factors may malfunction.
- Check and Resolve:
- Inspect and clean sensors to ensure they are free from dirt or debris.
- Replace sensors if they are damaged or unresponsive.
- Internal Component Failures:
- Issue: Failures in critical internal components can trigger error indicators.
- Check and Resolve:
- Conduct a comprehensive examination of internal components such as compressors, capacitors, and control boards.
- Replace or repair malfunctioning components as needed.
Troubleshooting Guide:
- Inspect Electrical Connections:
- Turn off the power to the air conditioner.
- Carefully examine all electrical connections for signs of wear, damage, or loose wires.
- Securely tighten any loose connections and replace damaged wires.
- Check and Clean Sensors:
- Locate temperature and other sensors within the unit.
- Gently clean sensors using a soft brush or cloth to remove accumulated dirt.
- If cleaning does not resolve the issue, consider replacing the sensors.
- Examine Internal Components:
- Hire a professional technician to conduct a thorough inspection of internal components.
- Use specialized tools to test the functionality of components like compressors, capacitors, and control boards.
- Replace any faulty components to rectify the error.
Advanced Suggestions:
- Utilize diagnostic tools provided by the manufacturer to interpret specific error codes.
- Regularly update the air conditioner’s firmware or software to address any known issues.
Preventive Measures:
- Regular Maintenance:
- Implement a routine maintenance schedule to prevent the accumulation of dirt or debris on sensors.
- Regular inspections can identify and address potential issues before they trigger error indicators.
- Professional Inspections:
- Schedule annual or bi-annual professional inspections to assess the overall health of the air conditioning system.
- Professional technicians can identify and rectify issues that may lead to error indicators.
- Follow Manufacturer Guidelines:
- Adhere to the manufacturer’s guidelines for installation, operation, and maintenance.
- Stay informed about any updates or recalls issued by the manufacturer.
Addressing the presence of an illuminated error indicator light involves a systematic approach, including inspecting electrical connections, cleaning sensors, and examining internal components. Regular maintenance, professional inspections, and adherence to manufacturer guidelines contribute to preventing issues that could trigger error indicators. In cases where the cause of the error is unclear or requires specialized knowledge, seeking professional assistance is essential to accurately diagnose and resolve the problem.
5. Water Leakage
Water leakage from an air conditioner is a common problem that can lead to property damage and reduced system efficiency. Identifying the root causes is crucial for effective troubleshooting.
Expected Causes:
- Clogged or Blocked Drainage System:
- Issue: Blockages in the drainage system can lead to water backup and leakage.
- Check and Resolve:
- Inspect drainage pipes for any clogs and clear them.
- Clean the drainage pan to prevent water accumulation.
- Improper Installation:
- Issue: Incorrect installation, such as a tilted unit or inadequate sealing, can result in water leakage.
- Check and Resolve:
- Ensure the air conditioner unit is installed with a slight tilt for proper drainage.
- Verify that the unit is well-sealed during installation.
- Damaged or Disconnected Drain Pan:
- Issue: A damaged or disconnected drain pan can allow water to escape.
- Check and Resolve:
- Inspect the drain pan for cracks or damage and replace if necessary.
- Ensure the drain pan is securely connected to the unit.
Troubleshooting Guide:
- Clear Drainage System:
- Turn off the air conditioner and inspect the drainage pipes for any blockages.
- Clear blockages using a vacuum, pipe cleaner, or gentle water pressure.
- Clean the drainage pan to prevent water buildup.
- Verify Installation:
- Check the installation angle of the air conditioner unit to ensure it has a slight tilt for proper drainage.
- Inspect the unit’s surroundings for any signs of improper installation, such as gaps or misalignments.
- Address any installation issues promptly.
- Inspect Drain Pan:
- Examine the drain pan for cracks, rust, or damage that may allow water to leak.
- If the drain pan is damaged, replace it with a new one.
- Confirm that the drain pan is securely connected to the unit.
Advanced Suggestions:
- Install a secondary drain line or safety float switch to prevent water damage in case of primary drain system failure.
- Consider using a condensate pump to efficiently remove water from the drain pan.
Preventive Measures:
- Regular Maintenance:
- Implement a routine maintenance schedule to inspect and clean the drainage system.
- Clear any potential blockages to ensure smooth water flow.
- Professional Inspections:
- Schedule professional inspections to assess the overall health of the air conditioning system, including the drainage system.
- Professional technicians can identify and address potential issues before they lead to water leakage.
- Quality Installation:
- Ensure that the air conditioner is installed by certified technicians following the manufacturer’s guidelines.
- Quality installation minimizes the risk of water leakage due to improper unit positioning or sealing.
Addressing water leakage from an air conditioner requires a systematic approach, including clearing the drainage system, verifying proper installation, and inspecting the condition of the drain pan. Regular maintenance and professional inspections play a crucial role in preventing water leakage and maintaining the overall efficiency of the air conditioning system. In cases where DIY efforts are insufficient or the cause of the leakage is unclear, seeking professional assistance is recommended to accurately diagnose and resolve the problem.

6. Fan Not Working
When the fan on an air conditioner is not functioning, it can lead to inadequate airflow and compromised cooling efficiency. Identifying the underlying causes is crucial for effective troubleshooting.
Expected Causes:
- Faulty Motor:
- Issue: The motor that drives the fan may be faulty or burned out.
- Check and Resolve:
- Test the motor for continuity and replace it if it is no longer operational.
- Inspect the motor for signs of overheating, such as a burnt smell or charred components.
- Capacitor Issues:
- Issue: Capacitors responsible for providing the necessary electrical boost to start the fan may be faulty.
- Check and Resolve:
- Test the capacitors for proper functionality and replace them if they are defective.
- Ensure the capacitance values match the manufacturer’s specifications.
- Worn or Damaged Fan Blades:
- Issue: The fan blades may be worn, bent, or damaged.
- Check and Resolve:
- Inspect the fan blades for any visible damage or distortion.
- If the blades are damaged, replace them to restore proper airflow.
Troubleshooting Guide:
- Examine Motor Functionality:
- Turn off the power to the air conditioner.
- Test the motor for continuity using a multimeter.
- If the motor is faulty, consider replacing it with a compatible unit.
- Check Capacitors:
- Turn off the power to the air conditioner.
- Test the capacitors using a multimeter to ensure they are within the specified capacitance range.
- Replace any defective capacitors with new ones.
- Inspect Fan Blades:
- Turn off the power to the air conditioner.
- Visually inspect the fan blades for wear, bending, or damage.
- Replace any damaged blades with new ones.
Advanced Suggestions:
- Lubricate the motor bearings regularly to prevent excessive wear and ensure smooth operation.
- Install a surge protector to safeguard the air conditioner’s electrical components, including the fan motor.
Preventive Measures:
- Regular Lubrication:
- Implement a schedule for lubricating the motor bearings with manufacturer-approved lubricants.
- Regular lubrication reduces friction, heat, and wear on the motor.
- Professional Maintenance:
- Schedule annual or bi-annual professional maintenance to assess the overall health of the air conditioning system.
- Professional technicians can identify and address potential issues before they lead to fan malfunctions.
- Avoid Overworking the Fan:
- Avoid setting the thermostat to extremely low temperatures, as this can overwork the fan and lead to premature failure.
- Ensure the air conditioner is appropriately sized for the space it is cooling.
Troubleshooting a non-functioning fan on an air conditioner involves a systematic approach, including examining the motor, checking capacitors, and inspecting the condition of the fan blades. Regular maintenance, preventive measures, and professional inspections play a vital role in preventing fan malfunctions and ensuring the overall efficiency of the air conditioning system. In cases where DIY efforts are insufficient or the cause of the fan malfunction is unclear, seeking professional assistance is recommended to accurately diagnose and resolve the issue.
7. Unusual Noise
When an air conditioner produces unusual noise, it can be disruptive and may indicate underlying problems within the system. Identifying the specific causes is crucial for effective troubleshooting.
Expected Causes:
- Loose or Faulty Parts:
- Issue: Loose components, such as screws, bolts, or fan blades, can create unusual rattling or clanking noises.
- Check and Resolve:
- Inspect all visible components for signs of looseness or damage.
- Tighten any loose screws or bolts and replace damaged parts.
- Fan Issues:
- Issue: Malfunctions in the fan motor or blades can result in squeaking, grinding, or clicking noises.
- Check and Resolve:
- Examine the fan motor and blades for any visible damage.
- Lubricate the motor bearings and replace worn or damaged fan blades.
- Refrigerant Problems:
- Issue: Low refrigerant levels or leaks can cause hissing or bubbling sounds.
- Check and Resolve:
- Inspect the refrigerant lines for visible leaks.
- If refrigerant levels are low, consult a professional technician for a thorough inspection and recharge.
Troubleshooting Guide:
- Inspect for Loose Parts:
- Turn off the power to the air conditioner.
- Visually inspect all visible components, including screws, bolts, and fan blades.
- Tighten any loose parts and replace damaged components.
- Examine Fan Motor and Blades:
- Turn off the power to the air conditioner.
- Inspect the fan motor and blades for signs of wear, damage, or misalignment.
- Lubricate the motor bearings using manufacturer-approved lubricants.
- Replace damaged or worn fan blades.
- Check Refrigerant Lines:
- Turn off the power to the air conditioner.
- Inspect the refrigerant lines for visible signs of leaks.
- If leaks are detected or if refrigerant levels are low, seek professional assistance for repairs and recharge.
Advanced Suggestions:
- Install vibration isolators or anti-vibration pads to minimize noise caused by the unit’s vibrations.
- Consider upgrading to a variable-speed fan motor, which operates more quietly than traditional single-speed motors.
Preventive Measures:
- Regular Maintenance:
- Implement a routine maintenance schedule to inspect and tighten components regularly.
- Lubricate moving parts to reduce friction and minimize wear.
- Professional Inspections:
- Schedule annual or bi-annual professional inspections to assess the overall health of the air conditioning system.
- Professional technicians can identify and address potential issues before they lead to unusual noise.
- Proper Refrigerant Management:
- Avoid overcharging or undercharging the refrigerant.
- Address refrigerant leaks promptly to maintain optimal system performance.
Troubleshooting unusual noise in an air conditioner involves a thorough examination of various components, including loose parts, fan motor, blades, and refrigerant lines. Regular maintenance, preventive measures, and professional inspections are essential for preventing unusual noises and ensuring the overall efficiency of the air conditioning system. In cases where DIY efforts are insufficient or the cause of the noise is unclear, seeking professional assistance is recommended to accurately diagnose and resolve the issue, providing a quieter and more comfortable indoor environment.
8. Partial Cooling
Partial cooling from an air conditioner is a common problem that can lead to discomfort and inefficiency. Understanding the potential causes is crucial for effective troubleshooting.
Expected Causes:
- Inadequate Insulation:
- Issue: Insufficient insulation in the building can result in heat gain, making it challenging for the air conditioner to cool the space effectively.
- Check and Resolve:
- Assess the insulation in walls, ceilings, and windows.
- Enhance insulation where needed to minimize heat transfer.
- Dirty or Clogged Air Filters:
- Issue: Dirty or clogged air filters can restrict airflow, reducing the system’s cooling capacity.
- Check and Resolve:
- Regularly inspect and clean or replace air filters.
- Follow the manufacturer’s guidelines for filter maintenance.
- Leaking Ducts:
- Issue: Leaks in the air ducts can lead to cooled air escaping before reaching the intended areas.
- Check and Resolve:
- Inspect the ductwork for visible leaks or damage.
- Seal any leaks with duct tape or other appropriate materials.
Troubleshooting Guide:
- Evaluate Insulation:
- Assess the quality and thickness of insulation in walls, ceilings, and windows.
- Consider adding or upgrading insulation in areas with inadequate thermal protection.
- Inspect Air Filters:
- Turn off the power to the air conditioner.
- Locate and inspect the air filters for dirt or clogs.
- Clean or replace air filters as needed.
- Check for Duct Leaks:
- Turn on the air conditioner and assess the airflow in different areas of the building.
- Inspect the ductwork for visible leaks or disconnected sections.
- Seal any identified leaks with appropriate materials.
Advanced Suggestions:
- Install a zoning system that allows for independent temperature control in different areas of the building.
- Consider upgrading to a programmable thermostat to optimize cooling based on specific usage patterns.
Preventive Measures:
- Regular Insulation Checks:
- Schedule periodic assessments of the building’s insulation to identify and address any deficiencies.
- Ensure that windows and doors are properly sealed to prevent heat infiltration.
- Scheduled Air Filter Maintenance:
- Establish a routine schedule for inspecting and maintaining air filters.
- Educate occupants on the importance of regular filter cleaning or replacement.
- Professional Duct Inspections:
- Schedule professional duct inspections to detect and repair leaks.
- Professional technicians can conduct a thorough assessment and recommend appropriate solutions.
Troubleshooting partial cooling in an air conditioner involves examining insulation, air filters, and ductwork to identify and address potential issues. Regular maintenance, preventive measures, and professional inspections are crucial for optimizing the cooling efficiency of the system. In cases where DIY efforts are insufficient or the cause of partial cooling is unclear, seeking professional assistance is recommended to accurately diagnose and resolve the issue, ensuring a consistently comfortable indoor environment.
9. Control Panel Not Responding
When the control panel of an air conditioner becomes unresponsive, it can impede the user’s ability to regulate settings and monitor the system. Pinpointing the causes is essential for effective troubleshooting.
Expected Causes:
- Power Supply Issues:
- Issue: Fluctuations in power supply or electrical interruptions can disrupt the functioning of the control panel.
- Check and Resolve:
- Confirm a stable and adequate power supply to the air conditioner.
- Address any electrical issues or power interruptions.
- Faulty Control Board:
- Issue: The control board, responsible for processing user inputs, may be defective.
- Check and Resolve:
- Inspect the control board for visible damage or burn marks.
- If damaged, replace the control board with a compatible unit.
- Sensor or Connection Problems:
- Issue: Malfunctions in sensors or loose connections can hinder communication with the control panel.
- Check and Resolve:
- Inspect sensors for damage or misalignment.
- Verify all connections leading to and from the control panel.
Troubleshooting Guide:
- Check Power Supply:
- Confirm that the air conditioner is receiving a stable and sufficient power supply.
- Inspect the power cord, plug, and electrical outlet for any issues.
- Address any electrical problems or power interruptions.
- Examine Control Board:
- Turn off the power to the air conditioner.
- Inspect the control board for burn marks, loose connections, or visible damage.
- If issues are found, replace the control board with a compatible unit.
- Inspect Sensors and Connections:
- Turn off the power to the air conditioner.
- Check sensors for visible damage, dirt, or misalignment.
- Inspect all connections leading to and from the control panel, ensuring they are secure.
Advanced Suggestions:
- Upgrade to a smart thermostat or control system for improved functionality and remote monitoring.
- Consider installing a surge protector to safeguard the control panel and other electronic components from power surges.
Preventive Measures:
- Scheduled Power Checks:
- Regularly assess the stability of the power supply to the air conditioner.
- Use surge protectors to minimize the impact of power fluctuations.
- Professional Maintenance:
- Schedule annual or bi-annual professional maintenance to inspect and maintain the control panel.
- Professional technicians can identify potential issues and perform preventive measures.
- User Education:
- Educate users on proper handling of the control panel and the importance of reporting any issues promptly.
- Encourage users to follow manufacturer guidelines for system operation.
Troubleshooting an unresponsive control panel in an air conditioner involves a systematic examination of power supply, the control board, sensors, and connections. Regular maintenance, preventive measures, and professional inspections are critical for ensuring the proper functioning of the control panel. In cases where DIY efforts prove insufficient or the cause of the unresponsiveness is unclear, seeking professional assistance is recommended to accurately diagnose and resolve the issue, restoring full control and functionality to the air conditioning system.

10. Faulty Temperature Sensor
When the temperature sensor in an air conditioner malfunctions, it can lead to inaccurate temperature readings and compromised cooling performance. Identifying the causes and addressing them promptly is crucial for effective troubleshooting.
Expected Causes:
- Sensor Calibration Issues:
- Issue: Misalignment or incorrect calibration of the temperature sensor can result in inaccurate readings.
- Check and Resolve:
- Ensure the sensor is correctly calibrated according to the manufacturer’s specifications.
- Realign or recalibrate the sensor if necessary.
- Sensor Contamination:
- Issue: Accumulation of dirt or debris on the temperature sensor can interfere with its ability to accurately detect temperature changes.
- Check and Resolve:
- Inspect the sensor for visible dirt or contaminants.
- Clean the sensor using a soft brush or cloth.
- Sensor Damage or Wear:
- Issue: Physical damage or wear over time can compromise the functionality of the temperature sensor.
- Check and Resolve:
- Visually inspect the sensor for any signs of damage.
- Replace the sensor if it is worn or damaged.
Troubleshooting Guide:
- Calibrate the Sensor:
- Turn off the power to the air conditioner.
- Refer to the manufacturer’s guidelines for sensor calibration.
- Recalibrate the sensor following the recommended procedure.
- Clean the Sensor:
- Turn off the power to the air conditioner.
- Gently clean the temperature sensor with a soft brush or cloth to remove accumulated dirt.
- Ensure the sensor is free from any contaminants.
- Inspect for Damage:
- Turn off the power to the air conditioner.
- Visually inspect the temperature sensor for any visible damage, such as cracks or breaks.
- If damage is detected, replace the sensor with a new one.
Advanced Suggestions:
- Consider upgrading to a more advanced temperature control system with improved sensor technology.
- Install additional sensors in different areas for more accurate temperature readings.
Preventive Measures:
- Regular Calibration Checks:
- Implement a schedule for regular calibration checks of the temperature sensor.
- Ensure that any recalibration is done following the manufacturer’s guidelines.
- Scheduled Cleaning:
- Include the temperature sensor in the routine cleaning and maintenance schedule.
- Regular cleaning prevents the accumulation of dirt and contaminants.
- Professional Inspections:
- Schedule annual or bi-annual professional inspections to assess the overall health of the air conditioning system.
- Professional technicians can identify potential issues with the temperature sensor and address them proactively.
Troubleshooting a faulty temperature sensor in an air conditioner involves careful calibration, cleaning, and inspection. Regular maintenance, preventive measures, and professional inspections are critical for ensuring the accuracy of temperature readings and maintaining optimal cooling performance. In cases where DIY efforts are insufficient or the sensor is damaged beyond repair, seeking professional assistance is recommended to replace the sensor with a compatible unit, ensuring accurate temperature control and a comfortable indoor environment.
When facing air conditioner issues in winter, early detection and resolution can save costs and maintain a warm and comfortable living environment. If you are unable to fix the problem yourself, contact a professional technician for assistance.
Source: Admin compiled from the Internet